Use Ezyview to display products in 3D & AR on your GoDaddy website

David Long
Updated June 2024
GoDaddy is an extremely user-friendly tool for building websites. In this step-by-step guide, I'll show how easy it is to enhance the user experience of your website and amaze your customers with interactive real-time 3D models of products. Customers with AR devices such as smartphones can also try out a product in the home before purchasing it.
In this guide, I'll demonstrate how to embed the Ezyview 3D product viewer and display a 3D model on a GoDaddy website.
Import a 3D model file into the editor
Open EzyView Studio, click on the cube and choose the delete command from the Edit menu to delete it. From the File menu choose Import File and select a file on your computer. If your model has additional files choose Import Folder and select the root folder. The model will be loaded and displayed in the main window.
Save and publish the project
From the File menu save the project so that you can come back to it later. On the File menu choose Publish Project. Two files will be downloaded to your computer, a project zip file containing project settings and a glTF 3D model file. Upload these files to your web server or file hosting service.
Embed the viewer on your GoDaddy site
For this guide, I've created a simple website using one of the free templates. We will use an HTML section to create a two-column display with the product description on the left and the 3D viewer on the right. Select a section and click the Add Section button.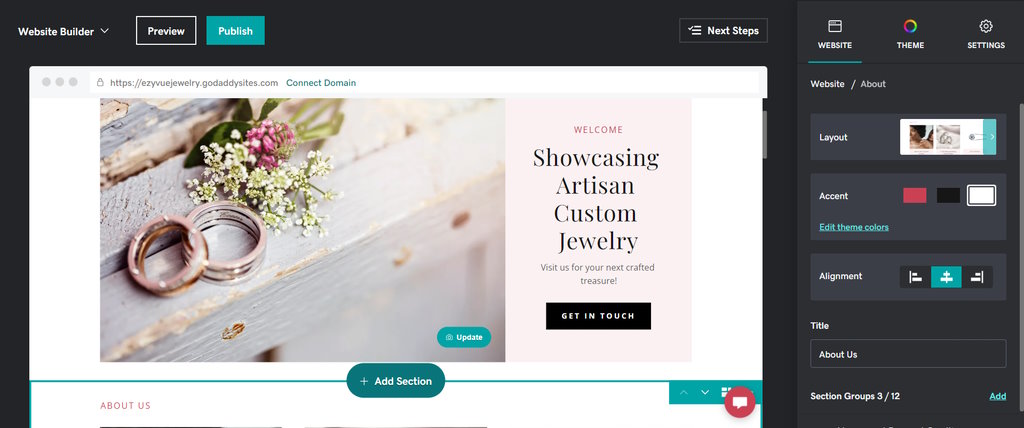
From the list of categories select Files & Web and HTML then click the Add button. A new HTML code section will be added to the page.
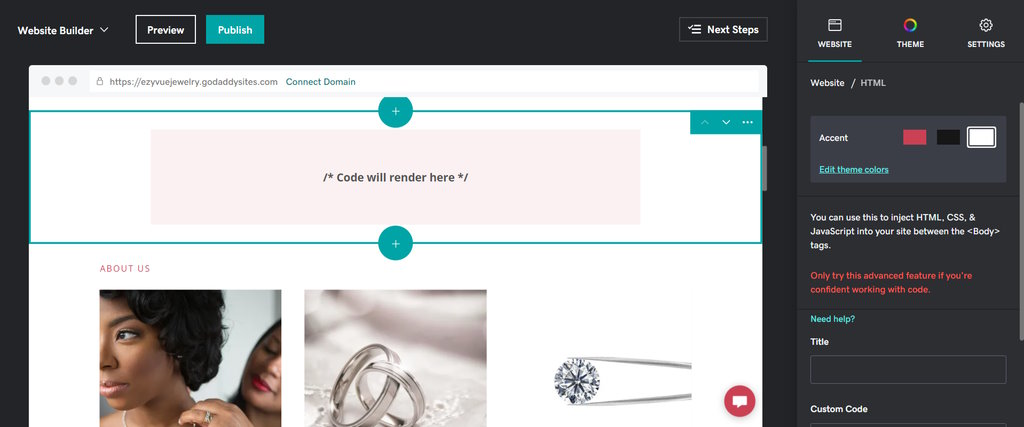
The next step is to create a two column display for a featured product. Make sure the section is selected then copy and paste the following code into the Custom Code textbox in the properties window on the right
<style>
.row {
  display: flex;
}

.column {
  flex: 50%;
padding: 2%
}
</style>
<div class="row">
  <div class="column">
    <h1>Todays Amazing Deal </h1>
    <h2>Elegance Engagement Ring </h2>
<p>This stunning ring comes in a range of precious metals and stones.
The perfect gift for your loved one.
</p>
<b style="font-size:large">On Sale from only $1199<br/>
Save $500</b>
  </div>
  <div class="column">
    Paste code here...
  </div>
</div>
The end result should look something like the image below.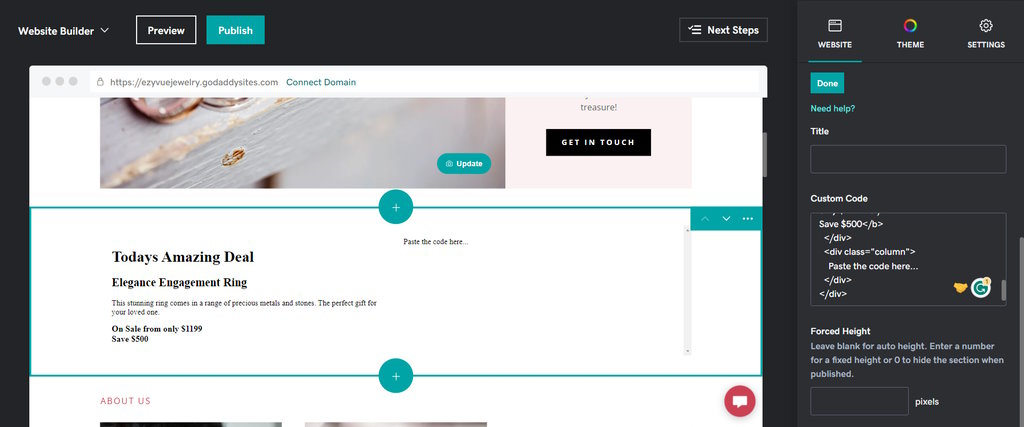 This is just an example and you can change the layout and design to suit your requirements.
The next step is to display your uploaded model in the righthand column. In the viewer go to the embed viewer tab and paste in the direct download file URLs of the files you uploaded into the relevant text boxes. Click the copy button and paste the code into the right column, replacing the ' Paste code here...' text.
Save the edits by clicking the Save button on the main menu bar and preview your site.
Ezyview 3D Editor
Using the 3D editor you can customize the scene, change the background, add a reflection and shadows, change the lighting, add 3D text annotations, create product variants and much more. See the documentation in the help center.Related blogs
Enhancing your online store with a 3D viewerDisplay products in 3D and AR on your website