Showcase products in 3D and augmented reality on your Wix site

David Long
10th May 2023
With the Ezyview platform your customers can view and interact with a 3D model of a product and see it in their home with augmented reality (AR). The following guide will take you through each step to add the Ezyview 3D viewer to a Wix page and display a 3D model. Wix is a website builder with an easy-to-use drag-and-drop editor that lets you create a website or online store for free.
- Import a 3D model file into the editor
- Save and publish the project
- Embed the viewer on your Wix site
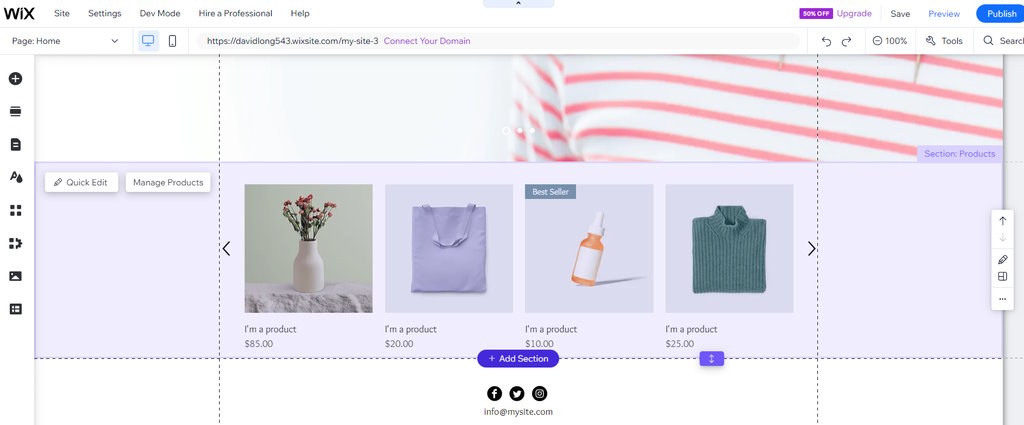
- Click on the Add Section Button
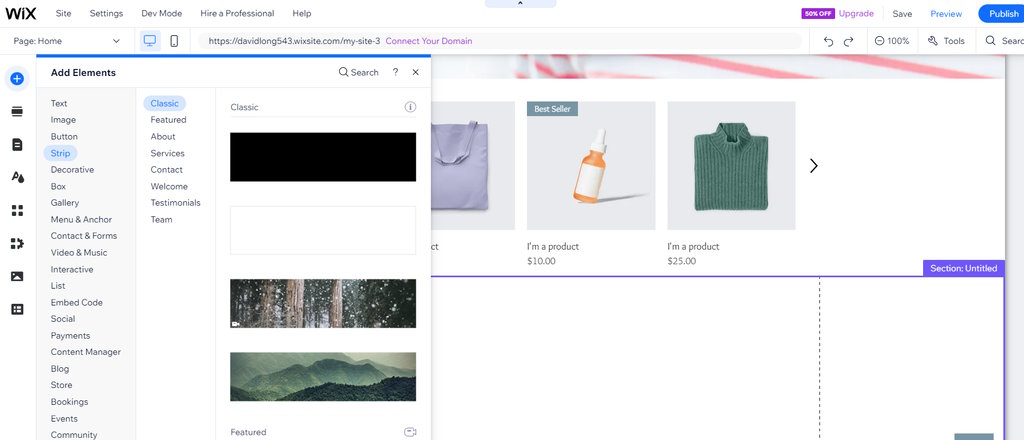
- With the section selected, click the add button on the command bar. In the Add Elements window choose a blank white Strip.
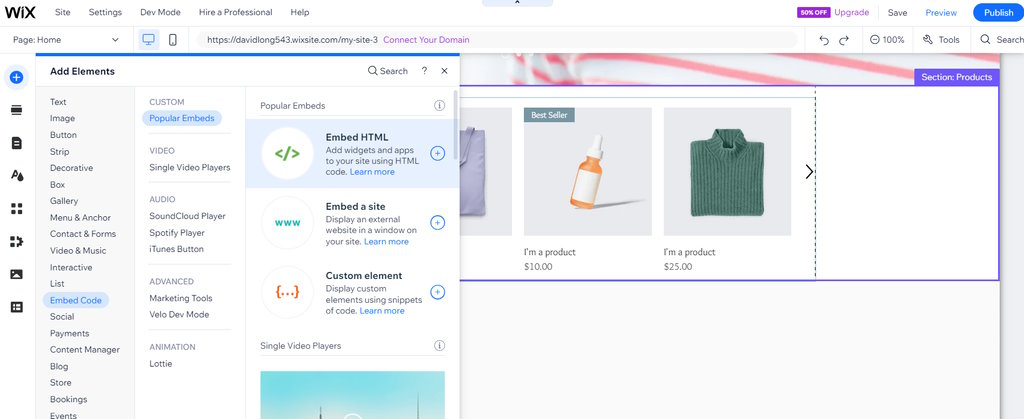
- Right mouse click on the strip and select Add column in the context menu. This will split the strip into two columns. Click on the left column and click the add button on the command bar. In the Add Elements window click Embed Code and then choose Embed HTML.
 An HTML Embed element will be added to the page.
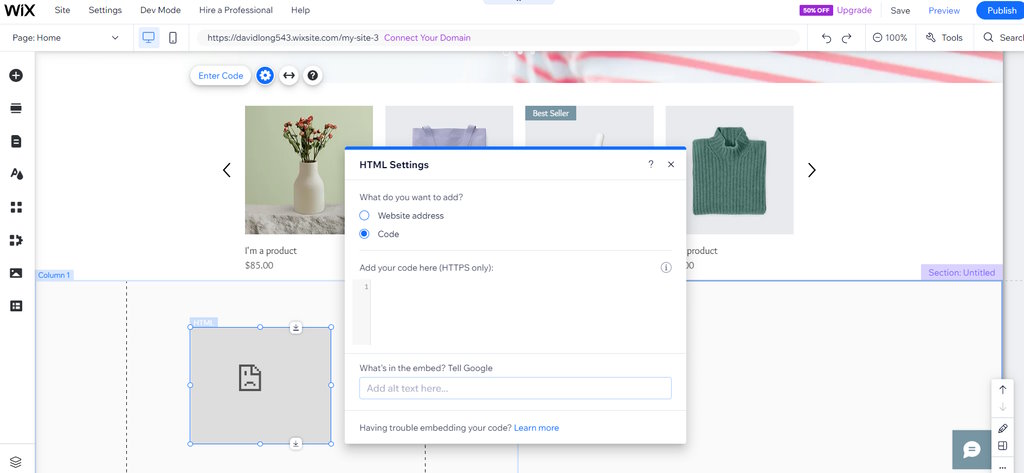
- Paste viewer HTML code into the Embed element
- Save and preview your site
Open EzyView Studio, click on the cube and choose the delete command from the Edit menu to delete it. From the File menu choose Import File and select a file on your computer. If your model has additional files choose Import Folder and select the root folder. The model will be loaded and displayed in the main window.
From the File menu save the project so that you can come back to it later. On the File menu choose Publish Project. Two files will be downloaded to your computer, a project zip file containing project settings and a glTF 3D model file. Upload these files to your web server or file hosting service.
For this guide, I've created a simple site from a jewelry store template.
In the editor go to the embed viewer tab and paste in the direct download file URLs into the relevant text boxes. Click the copy button and paste the code into the HTML settings dialog shown above.
Firstly save the site by clicking the Save button on the main menu bar. Click the Preview button next to the Save button and admire your work!
Related blogs
Enhancing your online store with a 3D viewerDisplay products in 3D and AR on your website